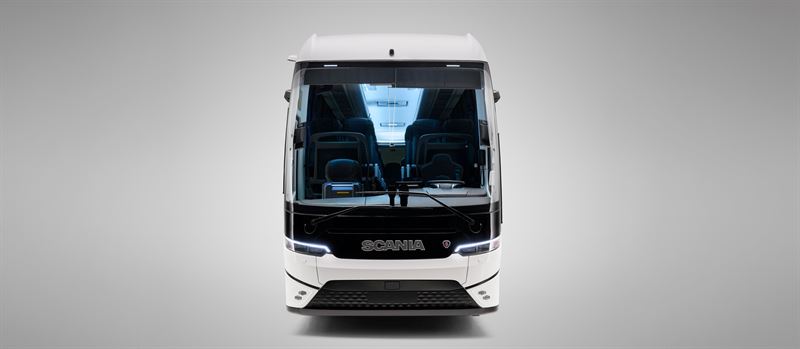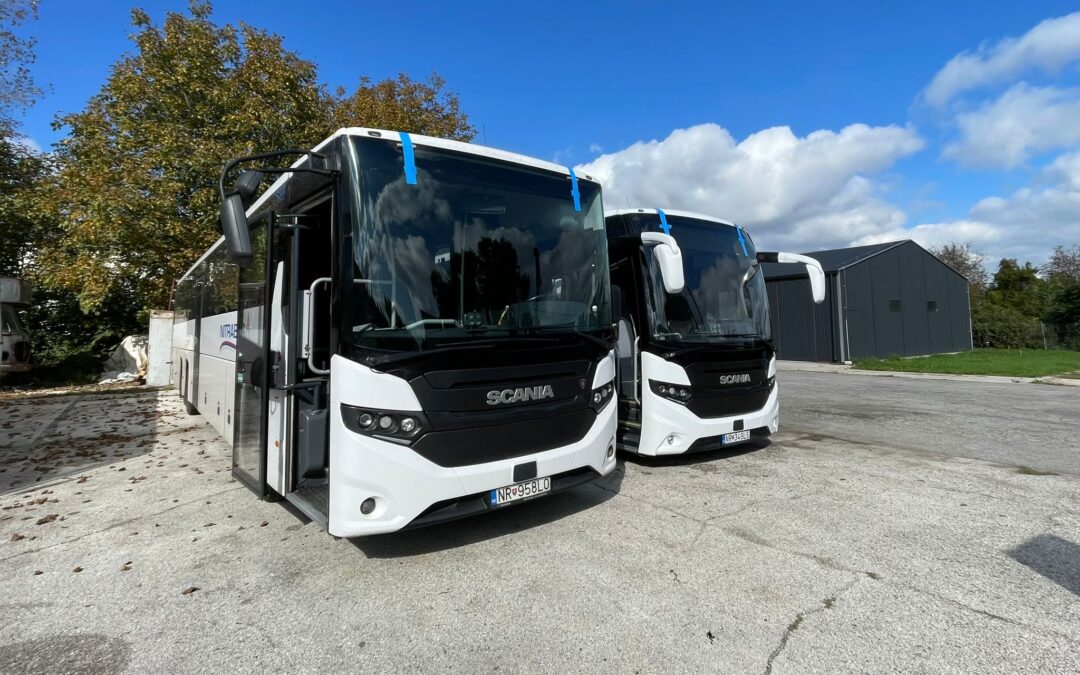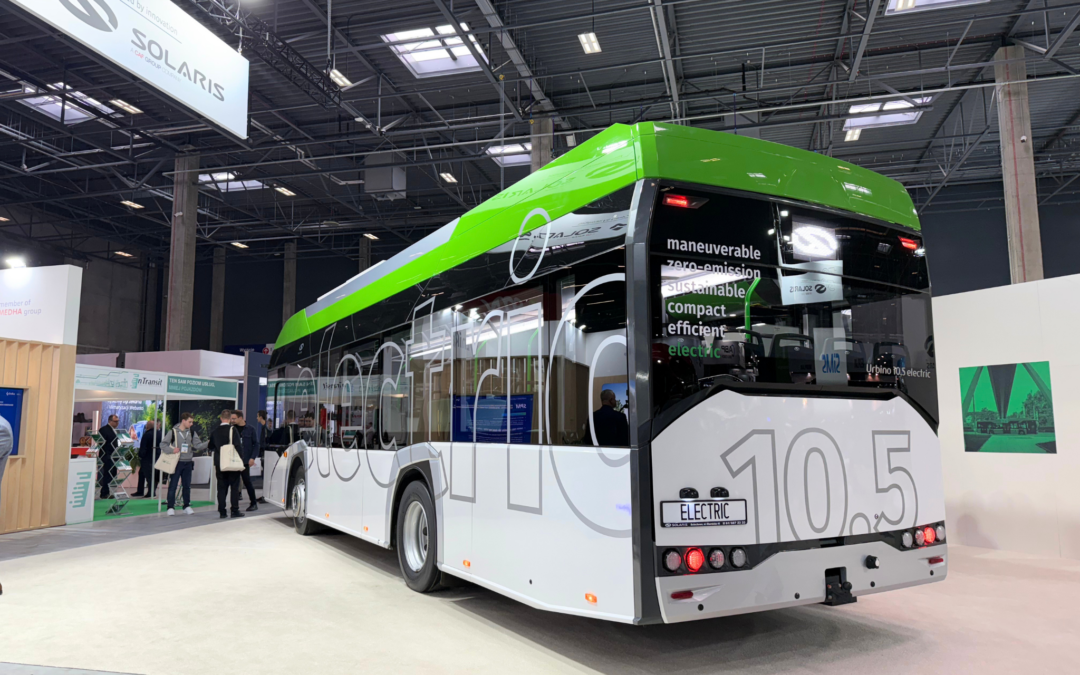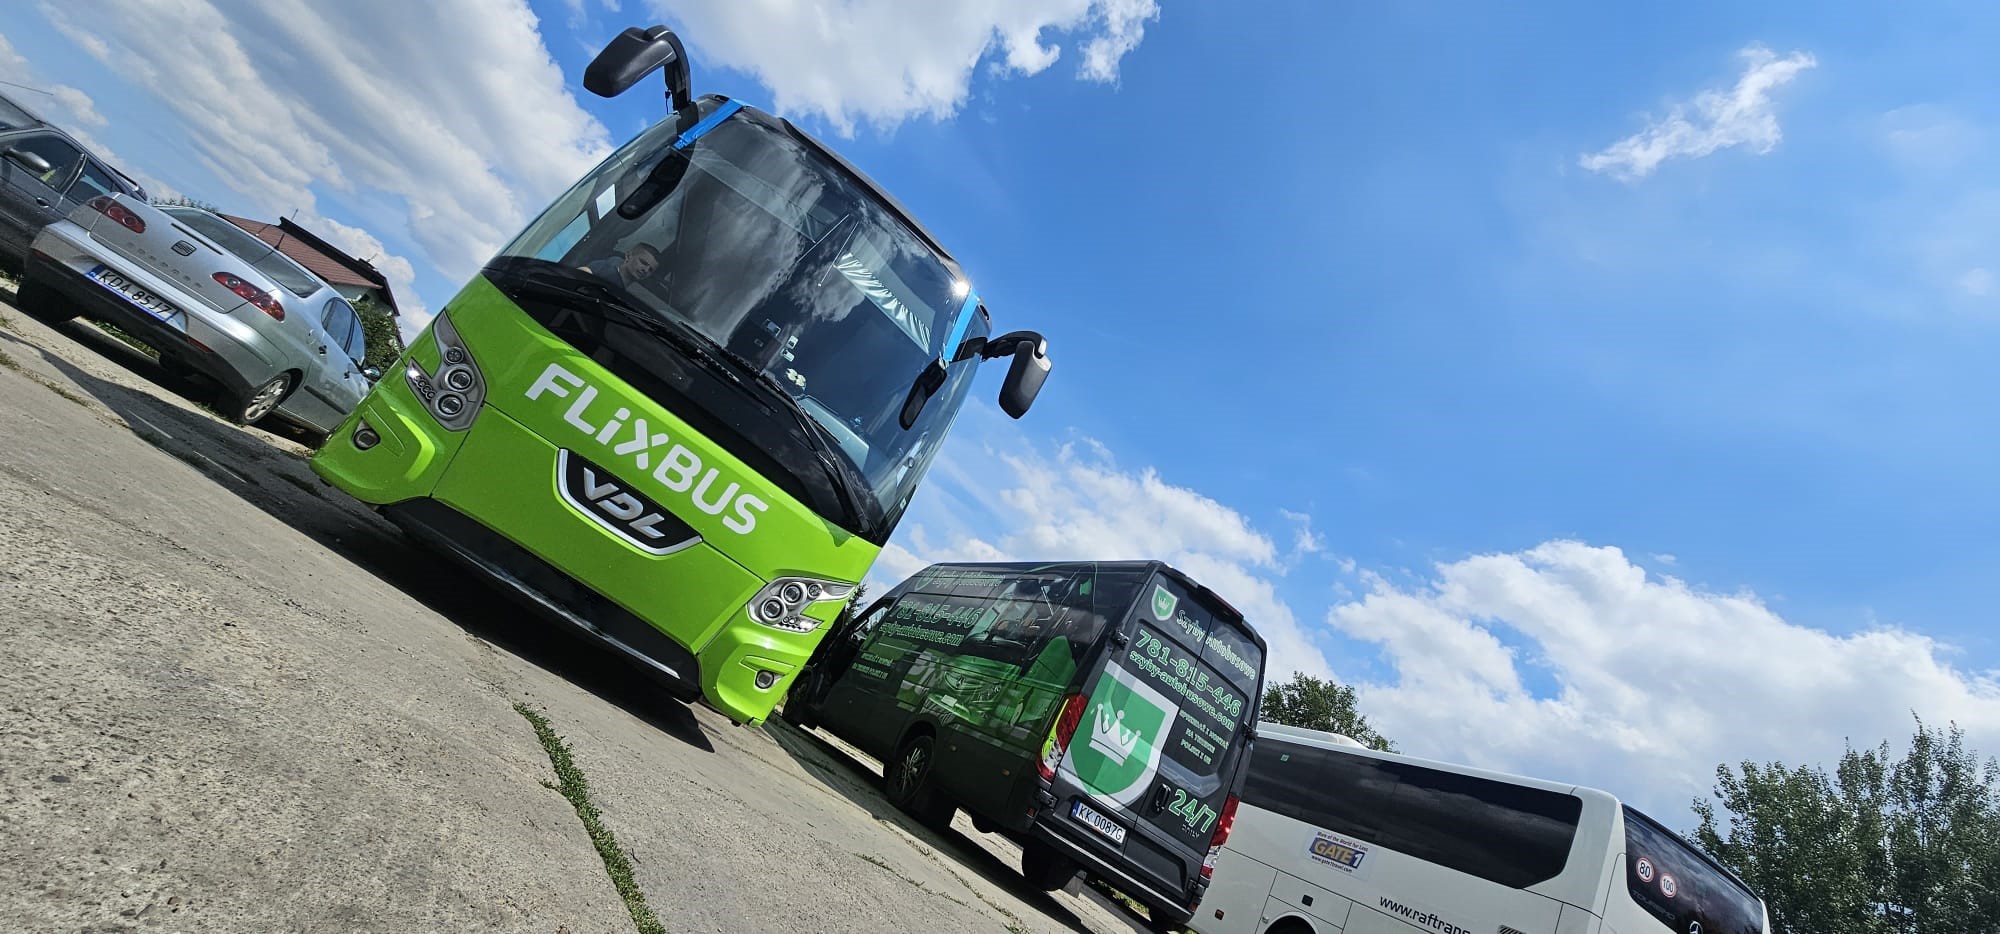
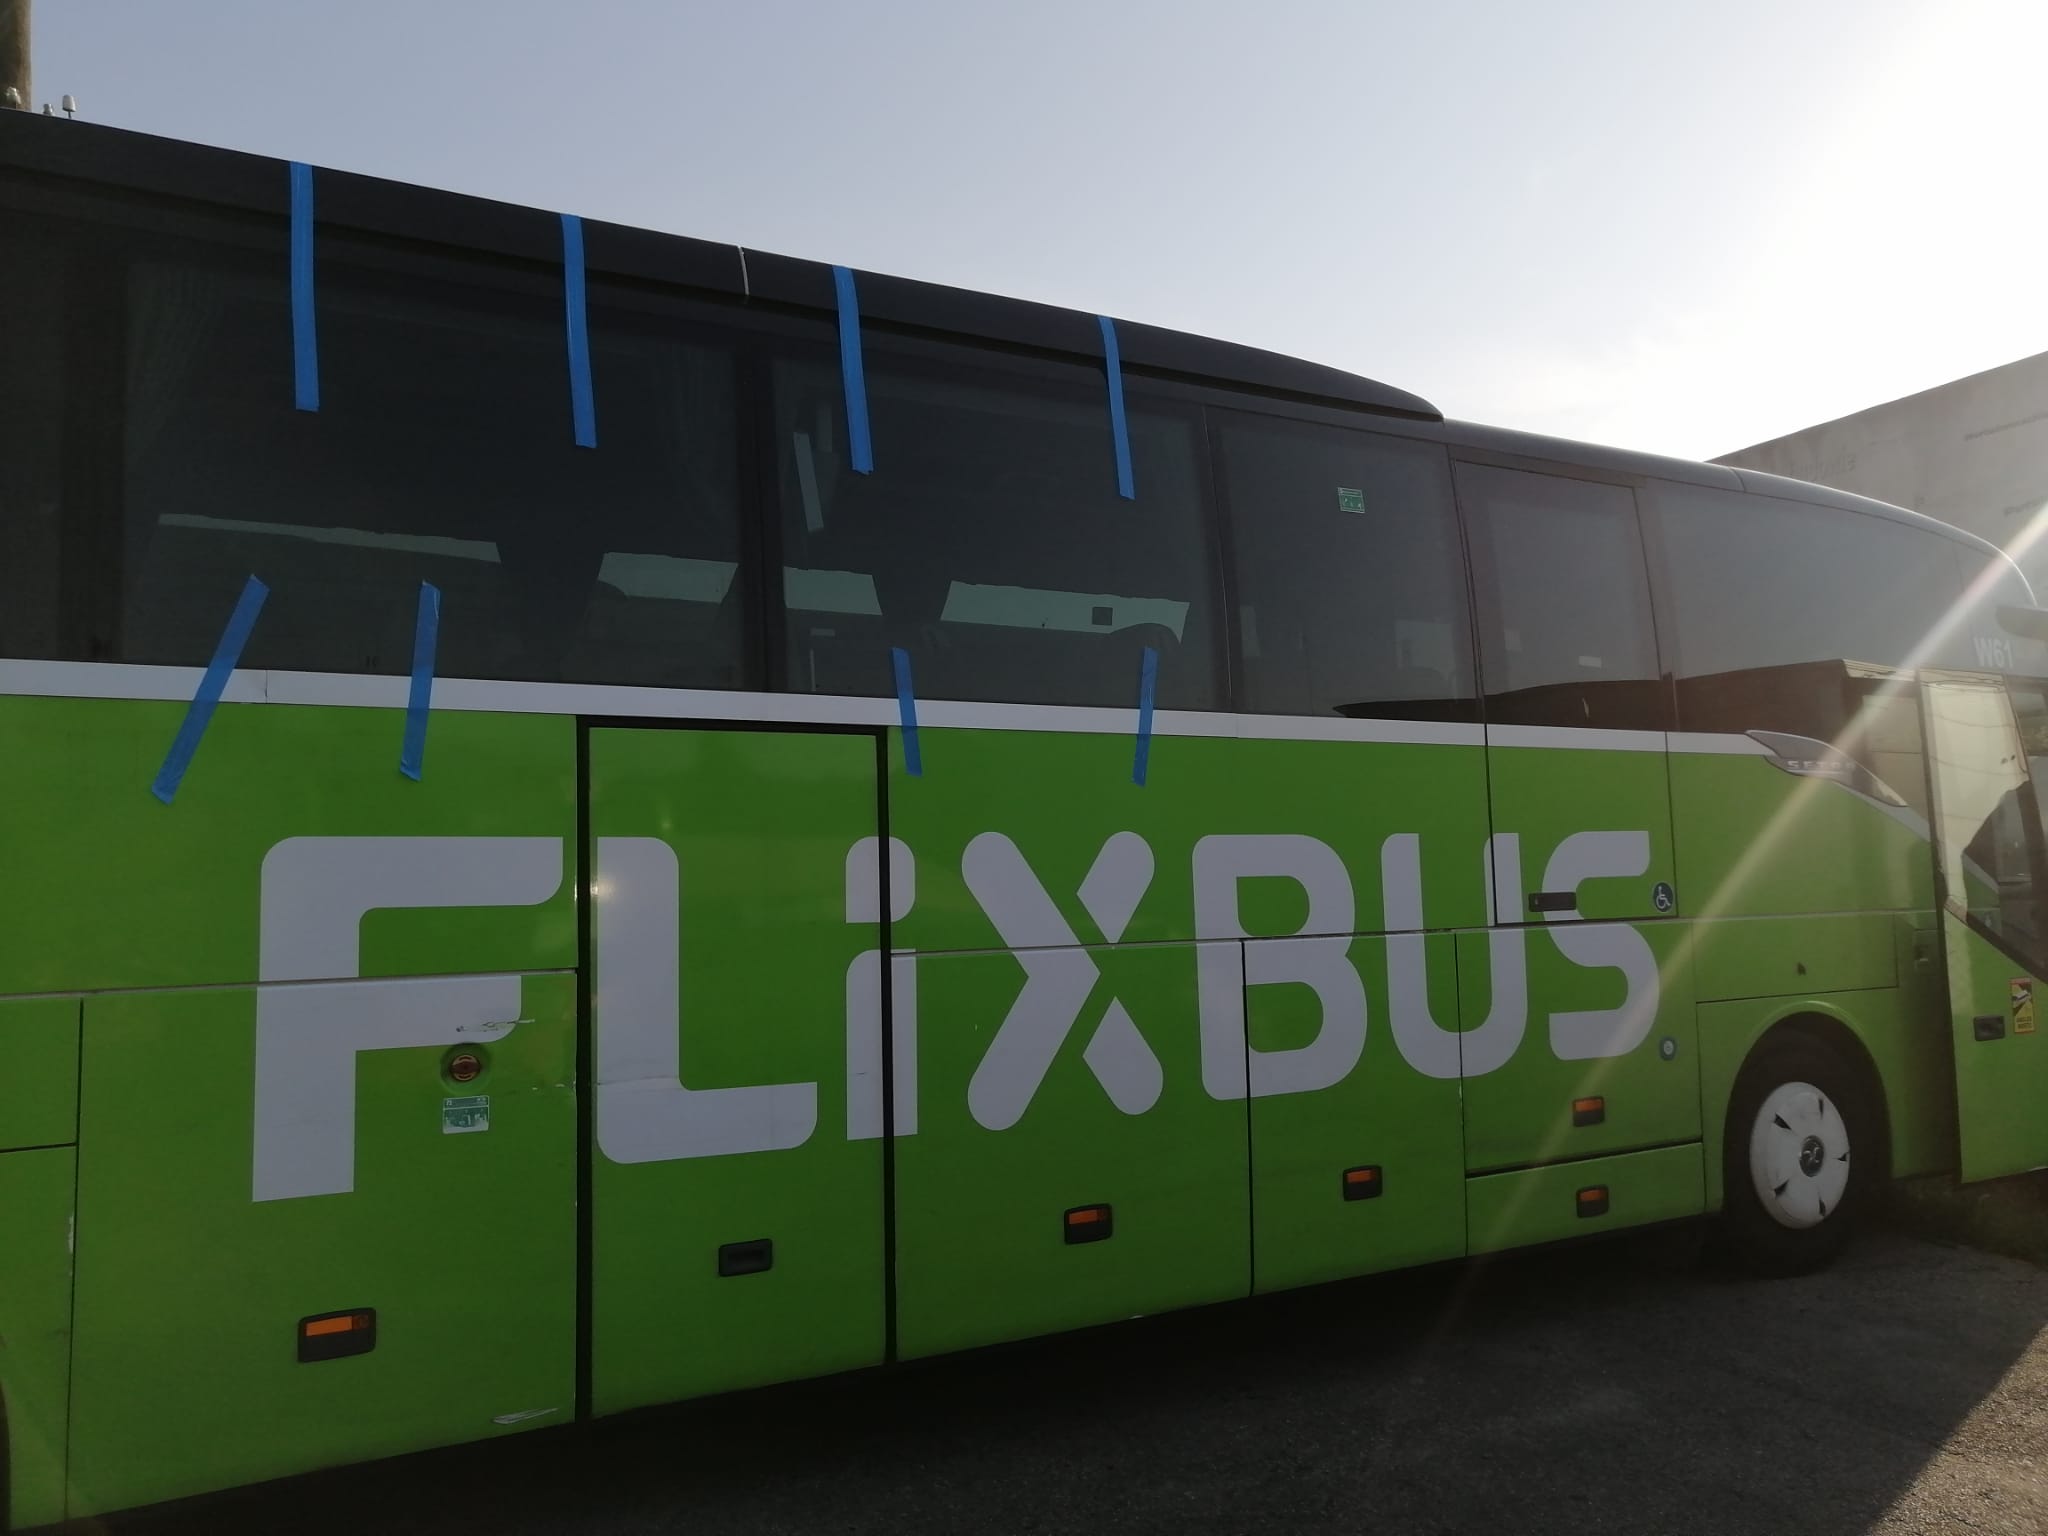
Lead photograph: a full-vehicle view provides context for a windscreen enquiry. Photo: publisher’s archive.
Fleet maintenance guide. When a bus is taken out of service by broken glass, the fastest solution is not always the quickest quotation. Correct identification of the exact windscreen or window assembly is critical. This practical guide outlines the evidence a fleet operator or workshop can prepare before ordering a replacement and explains where the risks arise.
Why the vehicle model is not enough
A broken windscreen on a working bus quickly becomes a logistics problem. The vehicle may be standing at a depot, passengers may have to be reassigned and an unfamiliar replacement part has to arrive before a technician can begin. At that point, a parts enquiry containing only a make and model is often insufficient.
Manufacturers update vehicle generations and may offer different windscreens, door systems and side glazing within a model family. Independent bodybuilders can introduce additional configurations. A vehicle marketed under a familiar name may also carry equipment that changes the visible glass specification. The aim of a good enquiry is therefore to identify a specific glazing assembly fitted to a specific vehicle, not simply to find a plausible catalogue entry.
1. Establish the exact vehicle identity
Start with the vehicle identification number (VIN), registration number and internal fleet number. Record the manufacturer, bodybuilder if applicable, model, production year and generation. These details serve different purposes: the VIN is an important reference for technical documentation, while a fleet number helps the operator identify the bus quickly when the original documents are not at hand.
Where a body has been converted or rebuilt, the chassis manufacturer and the bodybuilder may be different companies. A chassis VIN may not by itself identify every coach window. Ask for the builder’s type plate or a service document if that is how the relevant glazing parts are recorded.
Do not guess the generation from the year alone. Model transitions, delayed registrations and different market introductions can overlap.
2. Describe exactly which pane is damaged
Replace vague labels such as “front glass” with a precise position. Is it the full windscreen, the upper or lower front section, the driver’s opening window, a triangular panel beside the door, a passenger side window or glass integrated into a door leaf? For side glazing, record the side and the position counted from a consistent reference point, such as the front axle or front door.
A practical report includes an overall photograph showing the vehicle and a close-up showing the whole glass opening, edges and any relevant markings. Photograph from both sides when it is safe and possible. Avoid photos that crop away the frame: a close-up of a crack rarely identifies the pane’s external outline.
3. Check configuration details, not just dimensions
Before requesting a supplier match, record features that affect compatibility: clear or tinted glass, colour shade, heated elements, possible antenna or sensor areas, ventilation openings, sliding sections, printed ceramic borders and the panel’s construction where known. These attributes are not interchangeable.
Dimensions can be useful if reliable manufacturer drawings are unavailable, but a rough measurement across a curved panel is not a guarantee of fit. Curvature, edge geometry, fixing points and optical characteristics can be decisive. Even when two panes look similar from outside, they should not be declared equivalent without evidence.
If an original component reference is visible, record it alongside the brand of the glass maker and any regulatory markings. An etched marking is not always a unique catalogue part number, so send a photograph rather than transcribing an uncertain string.
4. Ask the supplier what establishes the match
A professional quotation should say whether the identification comes from a confirmed original-equipment part reference, an approved cross-reference, a previous documented installation on the same vehicle configuration or a provisional interpretation of photographs. Those levels of confidence are not identical.
For unfamiliar coach conversions, the responsible answer may be “subject to confirmation”. If the supplier needs a template or manufacturer drawing, that request protects the fleet from a wrong delivery and prevents avoidable damage during the fitting operation.
Where a pane will be brought to a mobile installation, the team should agree on the vehicle’s exact location, access conditions, available space and whether the old pane may break during removal. The replacement should be confirmed and prepared before irreversible removal begins.
5. Verify safety glazing and installation requirements
Vehicle glazing is subject to technical approval requirements. UN Regulation No. 43 sets provisions for safety-glazing materials and their installation, with different tests and classifications depending on the application. The presence of a similar shape does not establish compliance for a particular position or vehicle.
Bonded windscreens also require product-specific installation instructions. Adhesive selection, surface preparation, environmental conditions and the minimum permitted time before returning a vehicle to service have to be established from the applicable manufacturer and product documentation. Sika’s guidance on minimum drive-away time explicitly distinguishes the underlying test scope and vehicle weight: a time quoted for passenger cars or vehicles up to 4,500 kg must not automatically be generalised to large buses.
Do not promise a fixed drive-away time for every coach based on a number printed in a marketing table. A responsible installer can explain the assumptions behind the release decision for the actual vehicle and adhesive system.
6. Turn a one-off enquiry into a reusable fleet record
Every confirmed replacement is an opportunity to make the next job easier. Retain the verified part number, the position of the pane, photographs, the supplier, the installation date and relevant configuration details in the individual vehicle record. Record any uncertainty that was resolved during sourcing instead of relying on one employee’s memory.
Operators with dozens or hundreds of vehicles can build this register progressively. Begin with buses that suffer regular glass damage or have unusual bodywork. The next time a window breaks, the workshop can start with a confirmed history rather than repeating every telephone call and measurement.
A concise enquiry checklist
Before contacting a glazing supplier, prepare:
- Vehicle VIN, registration, fleet number, make, model, generation and bodybuilder
- Exact glass position and vehicle side
- Overview photographs, glass-opening photograph and close-up of any readable marking
- Heated, tinted, sensor, ventilation and other configuration information
- Any confirmed OEM or supplier reference, with its source
- Repair location, deadline and practical access constraints
- Whether the vehicle can remain out of service until adhesive requirements are satisfied
This checklist does not replace manufacturer documentation or a qualified technician’s assessment, but it makes a first enquiry substantially more informative. Accurate identification is one of the simplest ways to reduce preventable downtime without compromising safety.
Sources and technical reference
- UNECE WP.29 — Regulation No. 43: revisions and amendments (check the most recent applicable text)
- EUR-Lex — Regulation No. 43 (historical 2014 published text; not necessarily the latest revision)
- Sika — Minimum Drive-Away Time: guidance and declared test applicability
Editorial note: a general operational guide based on common fleet servicing scenarios; it is not vehicle-specific fitting, legal or homologation advice. Verify instructions for the particular glass and adhesive system.